
I will be sharing my experience on how I migrated my WordPress site that was hosted on a GoDaddy Shared Hosting instance to the Amazon Web Services’ Lightsail service.
Reasons for migrating off of GoDaddy’s Shared Instance:
- The main reason for the migration was that GoDaddy was really slow on that shared instance. Whenever I edit a page on WordPress, sometimes it would timeout. I would check the instance usage on the cPanel dashboard, it would be fully utilized.
- Having a plugin that backs up my site “UpdraftPlus” for instance would also choke the instance while the backup was running.
I felt that I’m better off migrating off of GoDaddy and looking for an alternative, which is when I found Lightsail on AWS. I was initially a bit reluctant to migrate off of GoDaddy because:
- I use cPanel emails to have my custom domain emails, which is hosted on GoDaddy. So I was afraid of losing that.
- I also have SSL certificates that I will have to configure, and that is not fun and is kinda tedious for someone not super experienced with ops stuffs.
💡In this tutorial, I will explain how I successfully migrated the WordPress site to AWS, but kept the domain emails hosted on GoDaddy, and how I was able to issue a new SSL certificate that I installed on the AWS instance.
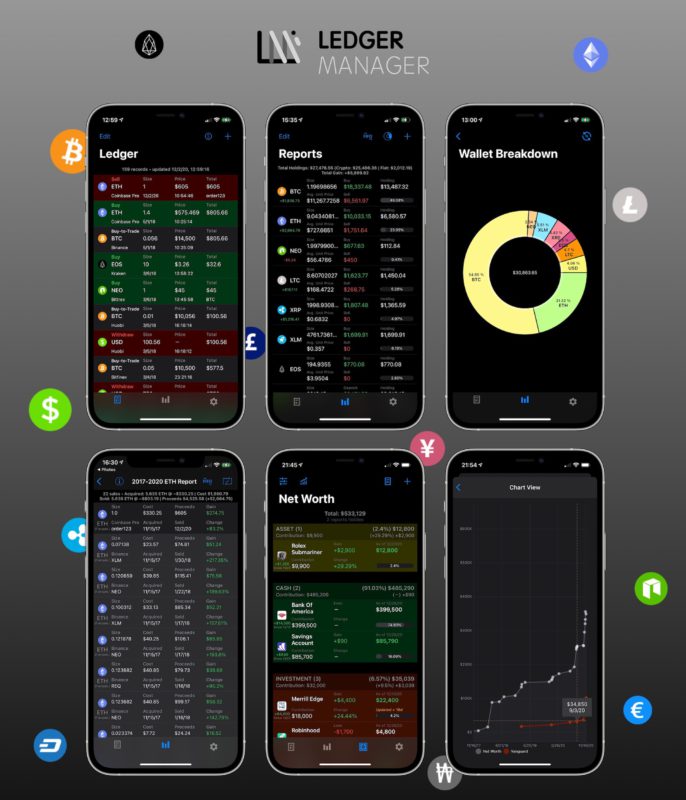
Ledger Manager
Check out my iOS app which facilitates recording crypto transactions (Bitcoin, Ethereum, etc.), simplifies tax reporting & reports on overall net worth!
*Everything is synced privately on your iCloud account.
**Helps getting your crypto tax reporting in order (Form 8949) with smart calculation of cost basis & acquisition dates.
STEP 1: Exporting Your Existing Site
- You don’t want to use WordPress’s default export functionality as it will only pull the database, with the images. But will not export the plugins or themes. So you’ll end up having a mess that doesn’t look remotely close to what you had…
- A great solution is to get a plugin that will export EVERYTHING, including plugin configurations, themes, etc etc.
- In WordPress admin section (e.g.: wp-admin), install a plugin called “All-In-One WP Migration“.

Activate the plugin, then click on Export

Pick the “FILE” option to export everything and serve the file for you to download on your computer.
🏁 At this point you should have a file that is 250MB, 500MB or even in GBs. It really depends on your website and the how heavy it is on images.
STEP 2: Spinning Up a New Instance On AWS Lightsail
For this section you will need to have an amazon web services account with a linked credit card. But don’t worry the first month is FREE!
- I will assume you already have an account, so head over to lightsail.aws.amazon.com.
- Click on “Create Instance”.

- Pick the region, I usually go with “us-east-1” as it be kinda in the middle between the US, Europe, etc.
- I went with Linux, selected WordPress as the instance image.

- Enable automatic snapshots, it will save you some headaches in case something happen to your instance and you need to spin up a new one from a backup.

- Enter the instance name, I called it WordPress-Example to reflect the name of my site.
- I assign a tag called “project” with the value as “icecream”. This is so that I can easily locate my instance (in case I end up creating many).
- Launch the instance.
🏁 This shouldn’t take more than a few seconds and you should see an instance ready. If you notice on the far right of that instance, there’s an IP address. If you copy that and paste it on your browser you should see a WordPress plain page!
STEP 3: Creating a Static IP
It’s cool that you can see the new plain WordPress site by accessing that IP address you copied, but be careful that IP can change at anytime. So we’re gonna create a static one to keep it the same (so that we can reference it and be certain it will not change).
- In Lightsail console, click the Networking tab.
- Create static IP.
- Assign the IP to your newly created instance “WordPress-Example”.
- Save.
🏁 At this point, if you copy that newly assigned static IP and paste it in your browser, you should see the same plain WordPress site!
STEP 4: Importing your Old Site Into AWS Lightsail
It’s time to see your old site hosted on our new Lightsail instance.

- In your Lightsail console, on the Connect tab.
- Click on “Connect using SSH”.
- That will open a new window and ssh into the machine. You will be fully authorized to do run regular commands that you would run on any machine.
- Type the following command to reveal your WordPress admin password:
cat $HOME/bitnami_application_password - Hit Enter, to reveal that password field.
- Now navigate in your browser to your static IP followed by admin:
X.X.X.X/admin - When prompted, enter
userand<password obtained above>. - You should be already on your WordPress dashboard logged in as the admin user.
- If you see any notice from WordPress saying to update your WordPress version, go ahead and do so. The same goes with the database.
- Navigate to Plugins to install the “All-In-One WP Migration” plugin, but this time, you want to make sure to install a version that supports importing any file size.
- At the time of this writing, the latest 7.x.x didn’t support files larger than 40MB, I tried to search for configs to bump that limitation but didn’t work.
- I ended up getting v6.77 which worked fine.
- Even though I had exported my files with a newer version, importing using the old version worked fine for WordPress v5.3.
- ⚠️ 03/28/2020: That did not work as the version got updated or something. So I found another one that is v6.77 which offers 12GB import limit!
- https://github.com/d0n601/All-In-One-WP-Migration-With-Import/archive/master.zip
- It’s hosted on github.com, you can download the repo as zip and upload it as-is from the plugins upload option.
- Below is the file I’m hosting myself which was downloaded from github.
- Activate the plugin.
- Hover over the “All-In-One WP Migration” on the left in WordPress dashboard > Import.
- You should see files up to 512MB. If your site is > 512MB, then you might want to do a quick google on how to import the site using that plugin, you will see posts everywhere on how to bump that limitation by modifying 1 line of code in that plugin.
- Once you see that the limitation covers your file size, then pick the “FILE” option and select your file.
- You will be presented a warning saying that everything will get overridden from your plain WordPress site. Hit next/agree and move forward!
- Then you will be presented with an option to replace the admin user, so pick the old one you had.
- After the import is successful, you might have to re-login as the default admin user got replaced by your old site’s admin user. So login using the old site’s credentials.
🏁 At this point, you should be able to visit your site using that static IP, but this time your website should be loading as it used to!
STEP 5: Removing the Bitnami Banner
You might have noticed that you have a banner on the bottom/right side of the site when you visit it. Let’s get rid of it shall we:
- In that same Lightsail console SSH Browser of your instance:
sudo /opt/bitnami/apps/wordpress/bnconfig --disable_banner 1 - Restart the instance either in the lightsail console UI or type the following command:
sudo /opt/bitnami/ctlscript.sh restart apache - Reference: https://docs.bitnami.com/aws/how-to/bitnami-remove-banner/
🏁 After that instance is up and running, go to the static IP and verify that the banner is gone!
STEP 6: Moving DNS Zone from GoDaddy to Lightsail
Ok so far we got a site that loads when you go to that static IP. But what we really want is having the old domain point to that lightsail instance.
I tried to have GoDaddy’s DNS Zone point to the lightsail static IP, but I couldn’t get WordPress to recognize that I own the site, I created a CNAME with “www” to point to it, the issue is that the admin side of WordPress saw me that I’m only an IP, and can’t verify my admin email, etc.
So I decided to move the nameservers from GoDaddy and use AWS Route 53 to manage my DNS Zone, but still keep the domain email hosting on GoDaddy’s cPanel email. That was the better solution regardless, as when someone visits my site, it’s better if Route 53 routes them to my instance instead of going to GoDaddy first, resolve the domain and realize that it needs to hit the AWS instance.
I wrote another blog post for this step specifically, please follow the steps here.
🏁 At this point if you had an SSL (https) on your site, that will start to fail and show that the site is insecure, as your certificate was only valid if the your GoDaddy shared hosting instance was the one resolving the DNS. But since we moved it, aws is the one resolving, so you will need to re-issue the SSL. I will explain in the later steps how to issue the SSL certificate. Don’t worry, you will not need to re-purchase it.
STEP 7: Updating WordPress Admin Email
You might have noticed that your admin email in WordPress has the static IP as the domain (e.g.: “contact@X.X.X.X”) under the global Settings option. Let’s fix that.
- Download yet another plugin, called “WP Mail SMTP“.
- Active it, and configure it to send email from “contact@example.com”.

- Pick the Other SMTP option.
- Fill in your GoDaddy cPanel email SMTP host (if you have cPanel hosting your domain email).
- Pick SSL in Encryption.
- SMTP Port 465
- Authentication ON.
- SMTP Username: “contact@example.com”
- SMTP Password: (I opted to use the more secure way and follow their steps to edit the
wp-config.phpand insert my password there.- You can edit the file directly in the SSH Browser:
vi /home/bitnami/apps/wordpress/htdocs/wp-config.php - Add the password there as they explained in the plugin.
- Save.
- You can edit the file directly in the SSH Browser:
- Click on the “Email Test” tab at the top of that plugin.
- Send yourself a test email.

- In the global dashboard WordPress Settings.
- Update the contact@X.X.X.X field with your actual domain email (e.g.: “contact@example.com”).
- Hit Save and check your email to verify that you own that domain.
🏁 You made it all the way so far! Great job, give yourself a pat on the back and let’s proceed with the more annoying part… SSL nightmare!
STEP 8: Issuing the SSL Certificate on the Lightsail Instance & Integrate into WordPress
Please follow the steps here to purchase and manually install/update your certificate every 1-2 years. Or follow these steps instead for FREE SSL Certificate with Let’s Encrypt with automatic renewal.
🏁 At this point you should have your website loading using “https://www.example.com” and shows that the site is secure in the browser 🔒.
STEP 9: Finishing Touches & Verifications
We took the site that was hosted on GoDaddy and hosted it on AWS Lightsail instead. We also re-issued an SSL certificate, uploaded it to our new instance and installed it on our wordpress site. You should be proud! 💪
You gotta keep in mind that any “hardcoded link” (not referencing one of your pages, but instead a hyperlink with “http://example.com/bla-bla”) you might have had in your old site that points to some of your pages might be now using “http://X.X.X.X/bla-bla”.
That is due to the plugin that exported the site, it fixes the permalinks for you, but for anything that was hardcoded, it saw it as new “temporary domain” that we had when we first spun up the instance, which is the static IP.
That’s why it took all http://example.com/ and replaced it with the IP. So you will need to go through your site and see any text where you are referencing your site by typing in a link in the text, that will have to be manually updated. It shouldn’t take you that long hopefully.
Other misc items to check:
- Go through the plugins that might have an email domain associated with them and update the static IP with the your domain email. I had to do that for PayPal, Contact Forms, Ninja Forms, etc.
- If you had Google Analytics Plugin, you might have to de-authorize and re-authorize to change that static IP domain to your real domain.
- Click on the Users menu from the dashboard > Your Profile and update the email address there from the static IP. That will restore also your Gravatar image or anything associated with your real wordpress admin account.
- Check your Contacts Forms plugins for anything that has IPs to update them.
- Check your Email Subscribers plugins for anything that needs updating in the Settings.
- Click “Customize” on your WordPress admin toolbar at the top of your homepage, then click through any footers/headers with ✉️ icons/buttons and replace IP addresses with your actual domain.
- Verify your site is all good to go!
I hope this tutorial was extensive and helped you out, please share it with others and subscribe for more content, I would really appreciate it! 🍻
Ledger Manager
Check out my iOS app which facilitates recording crypto transactions (Bitcoin, Ethereum, etc.), simplifies tax reporting & reports on overall net worth!
*Everything is synced privately on your iCloud account.
**Helps getting your crypto tax reporting in order (Form 8949) with smart calculation of cost basis & acquisition dates.
Hey Karl! We have been on GoDaddy forever too and want to move domains, emails (Microsoft 365) and all that over. Is that a service you can provide for a fee? If so, let us know and I can send details. We are a small business so nothing super complicated and we only have 4 email accounts. Thanks!
Hello Sabitha, the domain emails I use are all part of cPanel (not 365), which I kept with GoDaddy as shown in my other post. With my full-time job and other things going on in my personal life, I don’t think I’ll be a good person for that, sorry 🙂